
January 5, 2026
Ship It Right: A Swift Package Quality Checklist. Part 1 of 3.
Oleksii Kolomiiets

I still remember the moment I decided to open-source my first Swift Package Manager plugin. The code worked perfectly in our internal projects at Snapp, but making it public-ready? That was a different story. I spent the next week adding DocC documentation, setting up GitHub Actions CI, writing example apps, and addressing edge cases I’d been ignoring because “it worked for us”.
This series is for Swift developers turning internal packages into
polished public repositories — covering documentation, quality, and
community setup.
Here’s the thing: most developers know how to write good code. But there’s a massive gap between “code that works” and “a repository that welcomes users and contributors.” That gap includes:
- Documentation that assumes zero context — Your README.md makes sense to you, but will it help someone discovering your project at 2 AM?
- Quality automation — Are you manually checking code style, or does your CI catch issues before they reach main?
- Community infrastructure — When someone wants to contribute, is the path clear or confusing?
- Discoverability — Great code that nobody knows about might as well not exist.
I learned these lessons by studying successful repositories, discussing best practices with experienced coworkers, and developing my own sense of what makes a project polished versus what might fall short.
Let’s start with the most visible part of any repository — the README.
README: Keep It Concise
README is the door, not the whole house.
Follow a simple rule: the README should answer three questions:
- What does this do?
- How do I install it?
- Where can I learn more?
What Belongs in a README
1. Title and One-Line Description — make it crystal clear what this is.
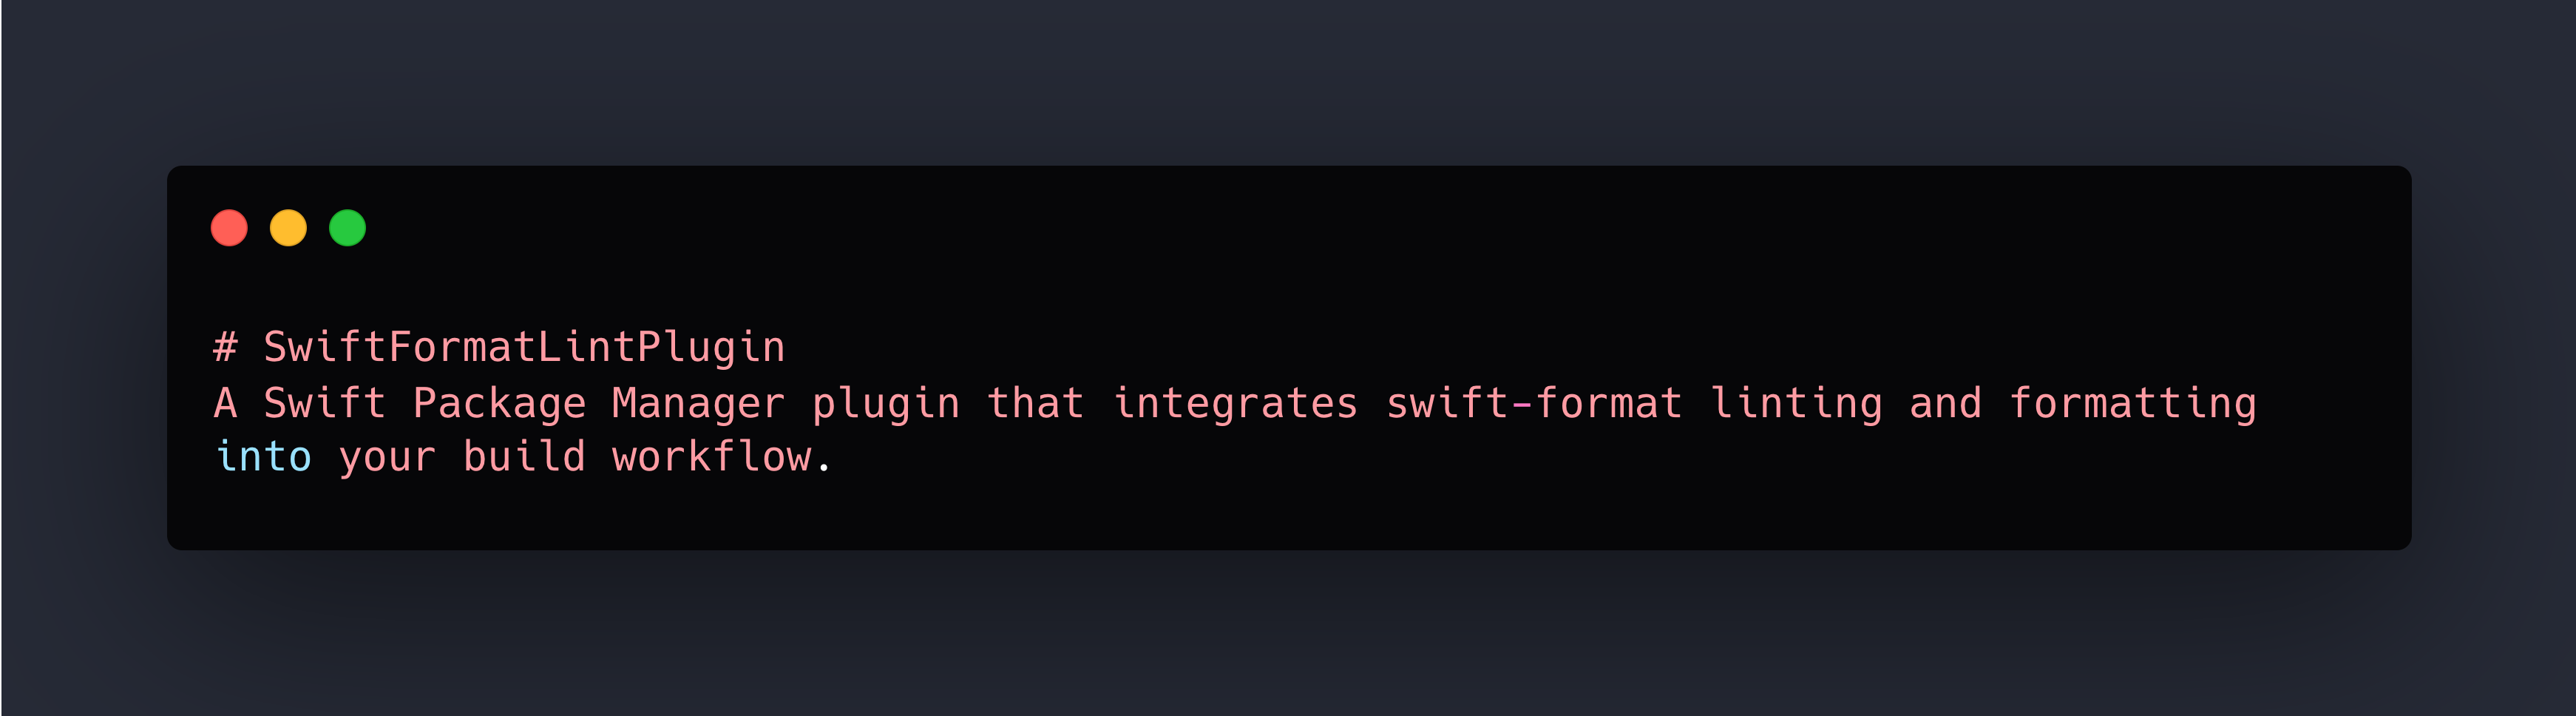
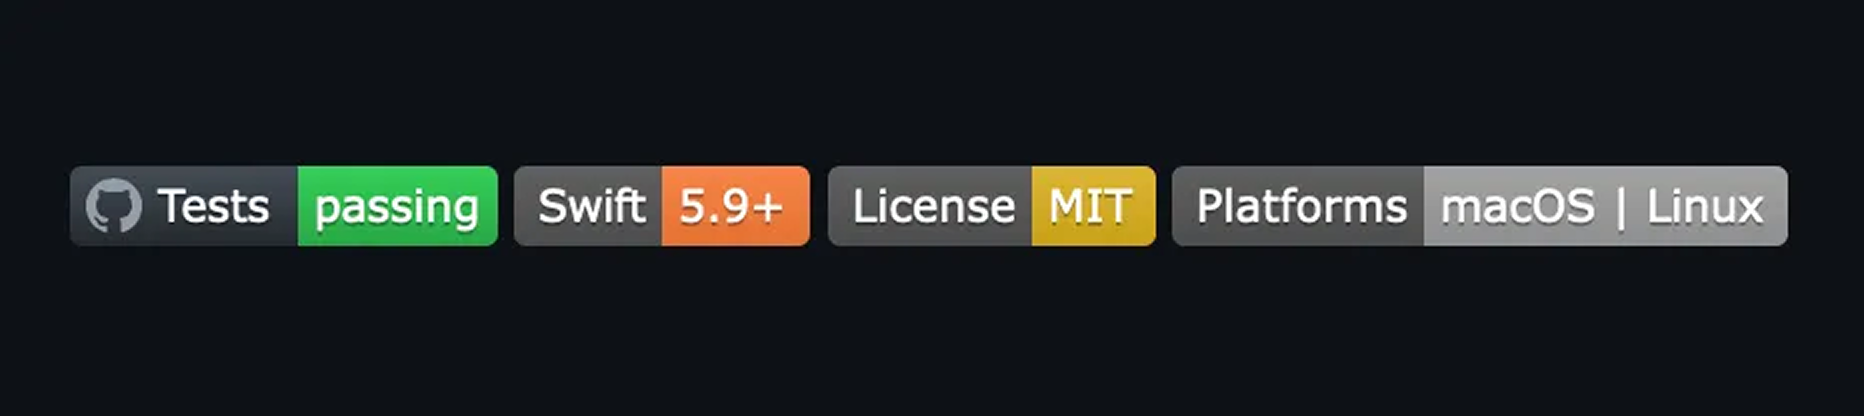
2. Key Badges — status, version, license, supported platforms etc.

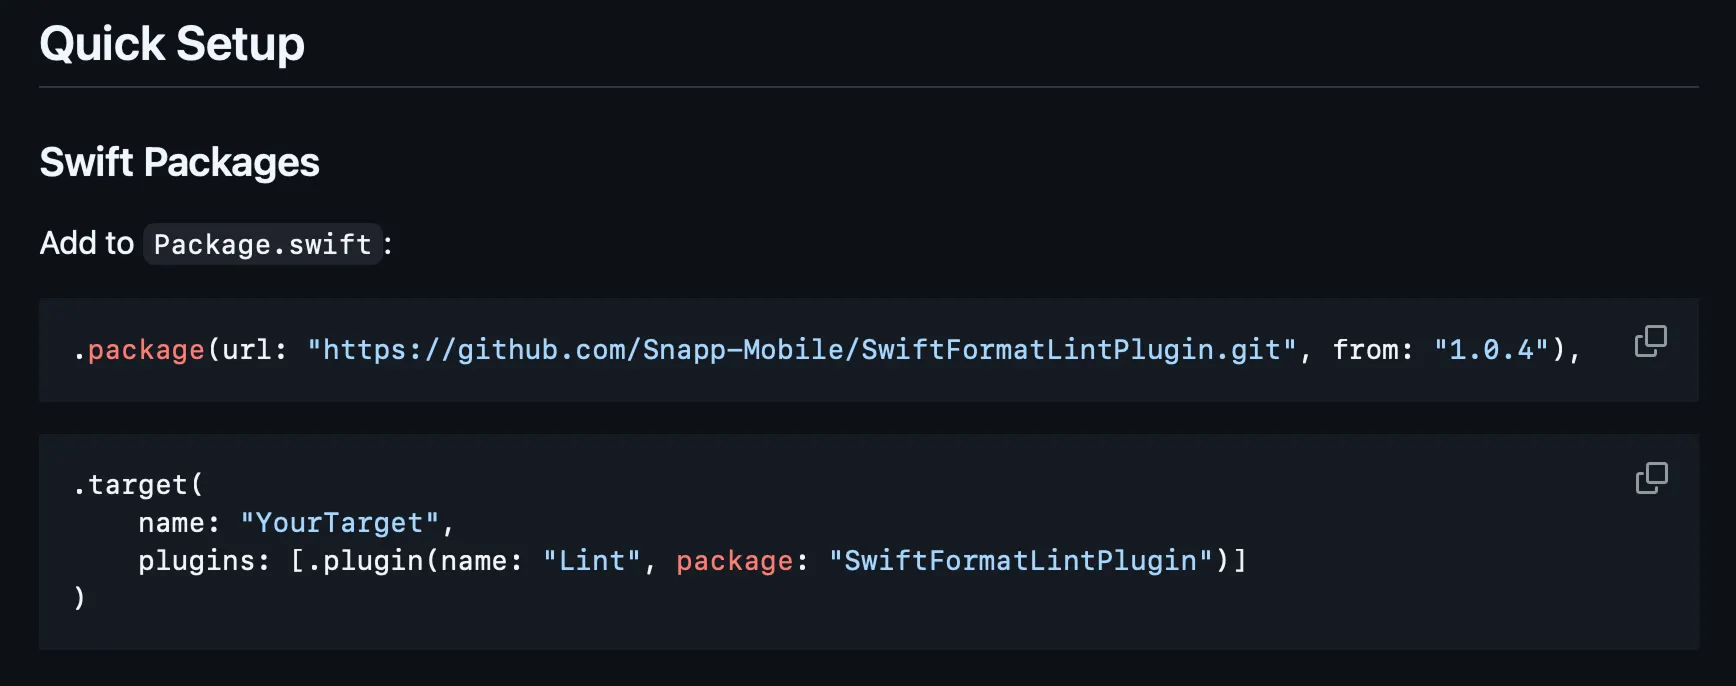
3. Installation Instructions/Quick Start — keep it copy-paste ready.
4. Minimal Usage Example — simple examples that show the core value proposition
or code snippet
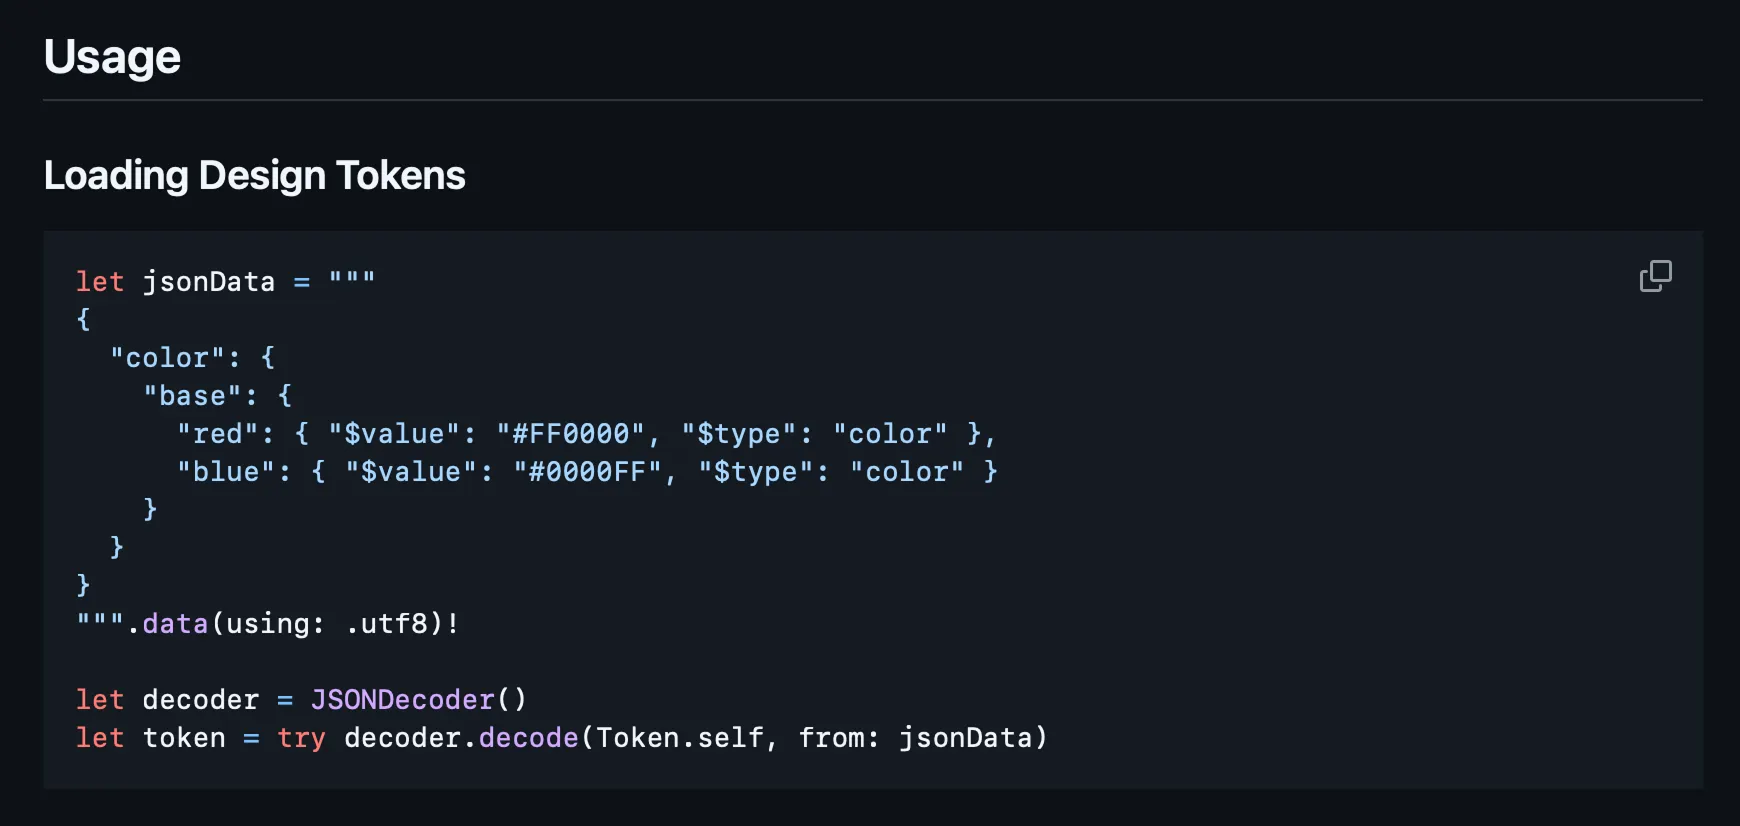
Consider adding a screen recording — it often demonstrates your framework’s capabilities faster than written explanations.
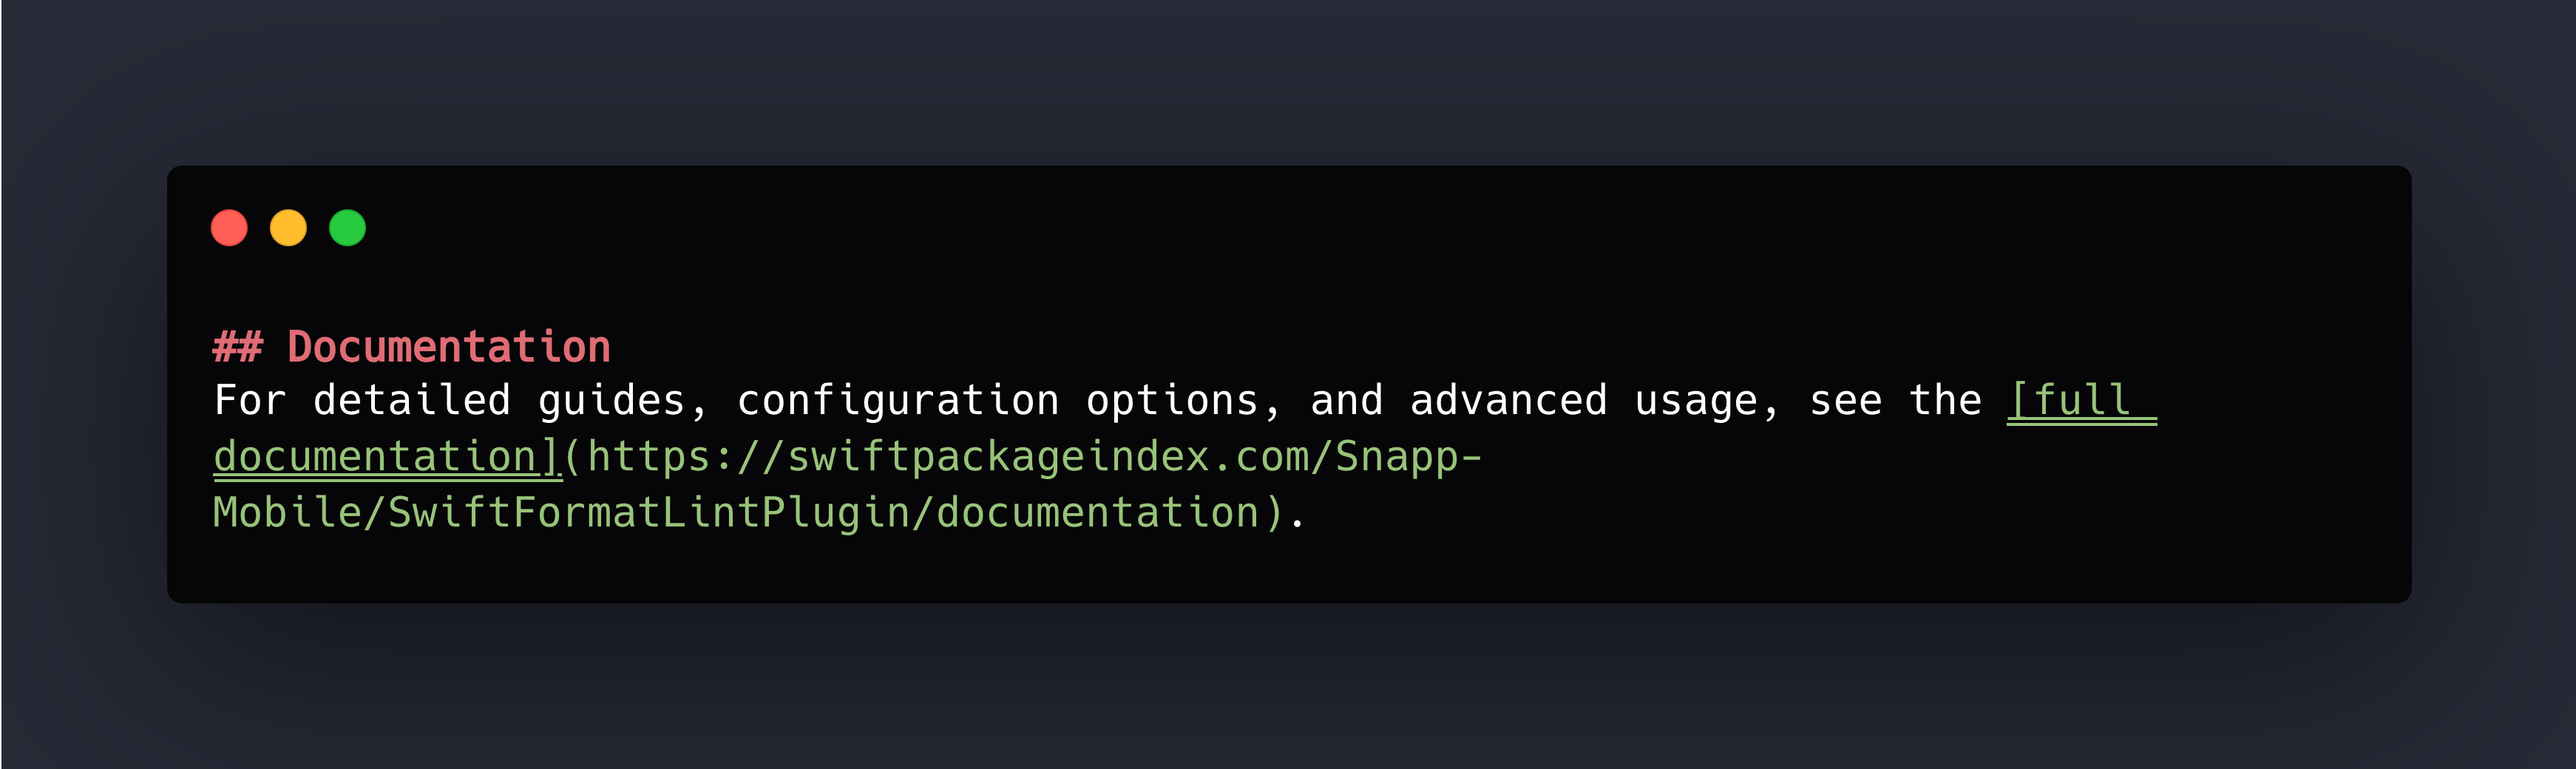
5. Link to Full Documentation
6. License — quick reference, one line or a badge or both.

What Doesn’t Belong in a README
Everything else. Specifically:
- Detailed API documentation → DocC comments on your public APIs
- Comprehensive guides → DocC articles
- Architecture explanations → DocC articles or separate docs
- Every configuration option → DocC articles
- Change log → Separate CHANGELOG.md file
If you find yourself writing “Advanced Usage” sections or multiple levels of nested headers, you’re overcomplicating your README. Move that content to proper documentation.
Real Examples
Look at my actual repositories to see this philosophy in action:
- MediaBridge — Brief and to the point
- swift-coverage-action — GitHub Action, under 100 lines
- SwiftFormatLintPlugin — SPM plugin, focused on essentials
- SnappDesignTokens — Framework with link to comprehensive DocC docs
License: Just Use MIT
Here’s my license advice: MIT is the way. It’s permissive, simple, and universally understood.
Why MIT? The entire license fits on one screen, it’s safe for commercial use, plays well with other licenses, and creates zero adoption friction. If you had specific patent concerns requiring Apache 2.0, you’d already know it.
How to Add: GitHub offers an “Add a license” dropdown when creating repos. Select MIT. Done. Or create a LICENSE file manually. Choose MIT. Add the file. Move on.
Documentation: DocC and Working Examples
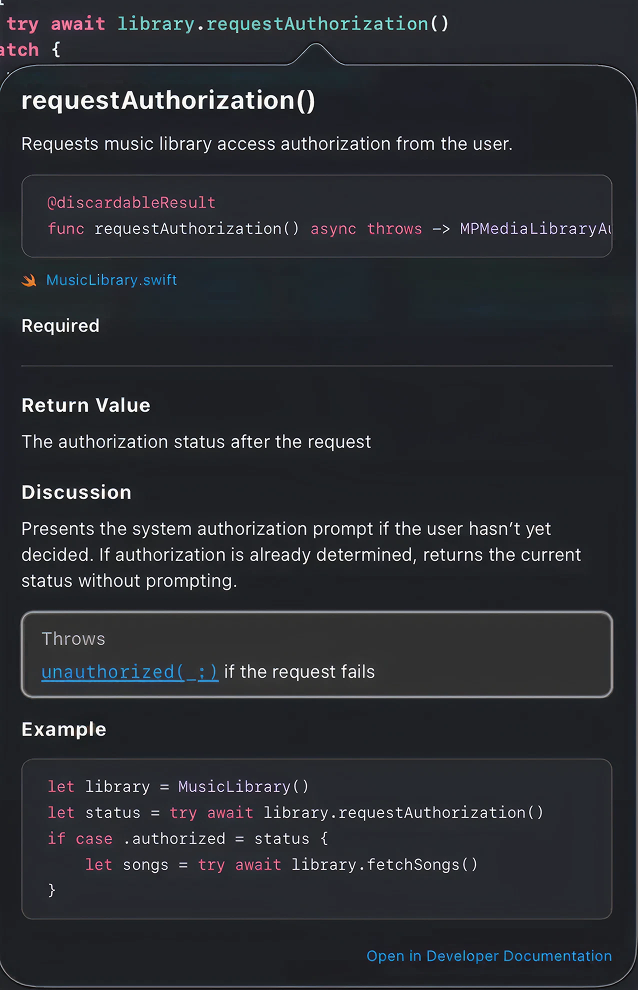
As mentioned in the README chapter, clear documentation hierarchy matters: README for essentials, DocC for everything else. But here’s where I get particularly opinionated: write DocC comments for every public method and abstraction, and make absolutely sure they include working examples.
Let me emphasize that last part: working examples. Not broken code. Actual code that you’ve run and verified works.
Nobody likes copying non-working example code, and nothing destroys trust in documentation faster than examples that fail — just ask anyone who’s hit broken sample code in Apple’s docs.
DocC Comments for Public APIs
Every public method and type needs documentation. Not “nice to have” — needs. When you publish a framework, your public API is your contract with users.
Testing Your Documentation Examples
I learned this lesson the hard way with SnappDesignTokens. Early versions had documentation examples that were close to correct but had small syntax errors or used an outdated API. Users would copy them, get errors, and (rightfully) lose confidence in the entire framework.
My go-to method is using code from actual tests in documentation examples — that way they’re verified and guaranteed to work.
DocC Articles for Detailed Guides
Articles are where comprehensive documentation lives. I organize them by topic:
- Getting Started — Step-by-step guide for first-time users
- Configuration — All available options with explanations
- Advanced Usage — Complex scenarios and edge cases
- Architecture — How the framework is designed (for contributors)
Articles use standard Markdown with DocC extensions. Reference your API directly:
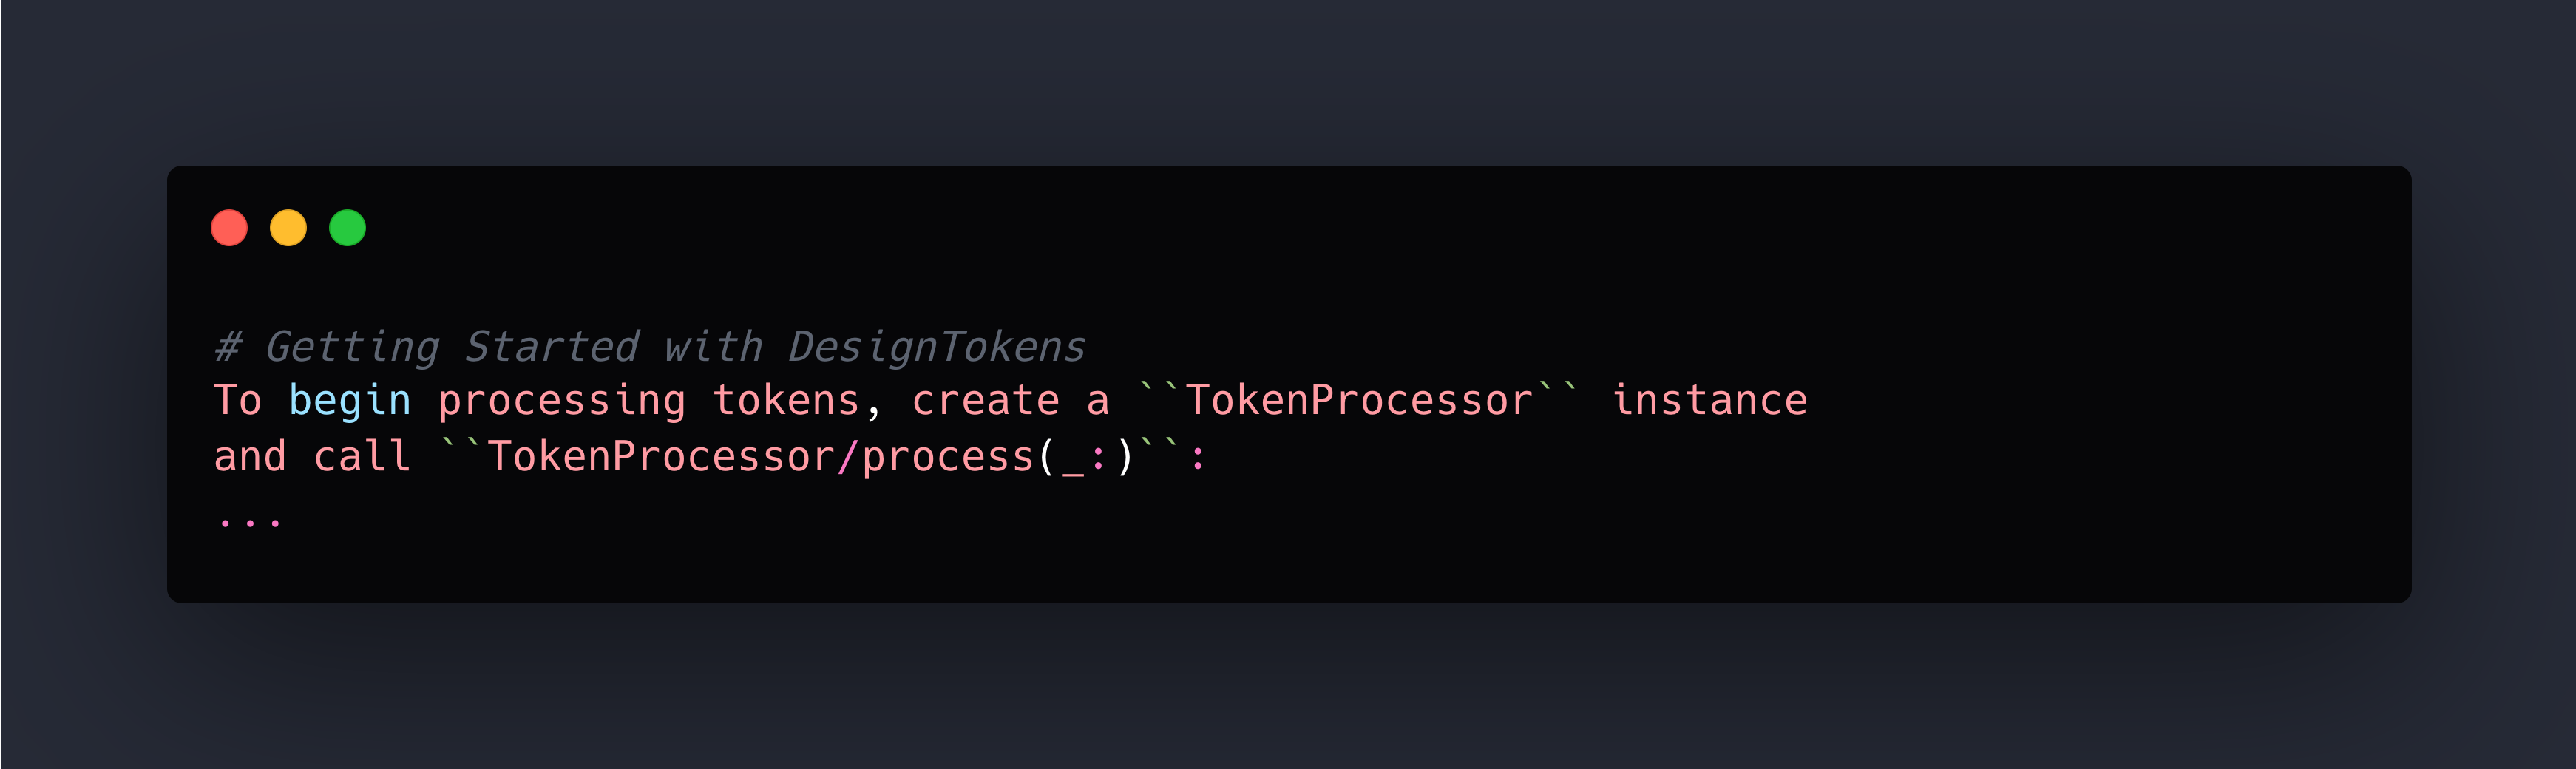
The double backticks create links to your API documentation. When readers click them, they jump to the full API reference.
For a real example of this structure, check out SnappDesignTokens documentation.
Framework Icons (Optional but Nice)
If you want to add polish, create an icon for your framework. I use the Strata — Icon Generator for creating framework icons — it’s designed specifically for generating the right sizes and formats for DocC. Place it in YourFramework.docc/Resources/. It’s a small touch that makes your framework feel more professional.
Key Principles
- Working examples are non-negotiable — Test them before publishing
- Document the “why” not just the “what” — Explain when and why to use each API
- Keep documentation close to code — DocC comments live with the code they document
- Separate concerns — README for quick start, comments for API reference, articles for deep dives
- Verify everything — Broken docs are worse than no docs
Great documentation turns a good framework into one that developers actually want to use.
Example Apps: Show, Don’t Just Tell
Documentation tells developers how your framework works. Example apps show them. There’s a massive difference between reading about an API and seeing it in action, and every public repository should include working examples as part of the package structure.
We learned this building SnappThemingSVGSupport. Developers could run the example, see the output, then reference the code to understand the implementation.
Project Structure
Include example apps as part of your Swift Package Manager structure. It could be a Source folder or root for better visibility — up to you.
The example lives alongside your framework code, not in a separate repository. This keeps everything in sync and makes it trivial for developers to find.
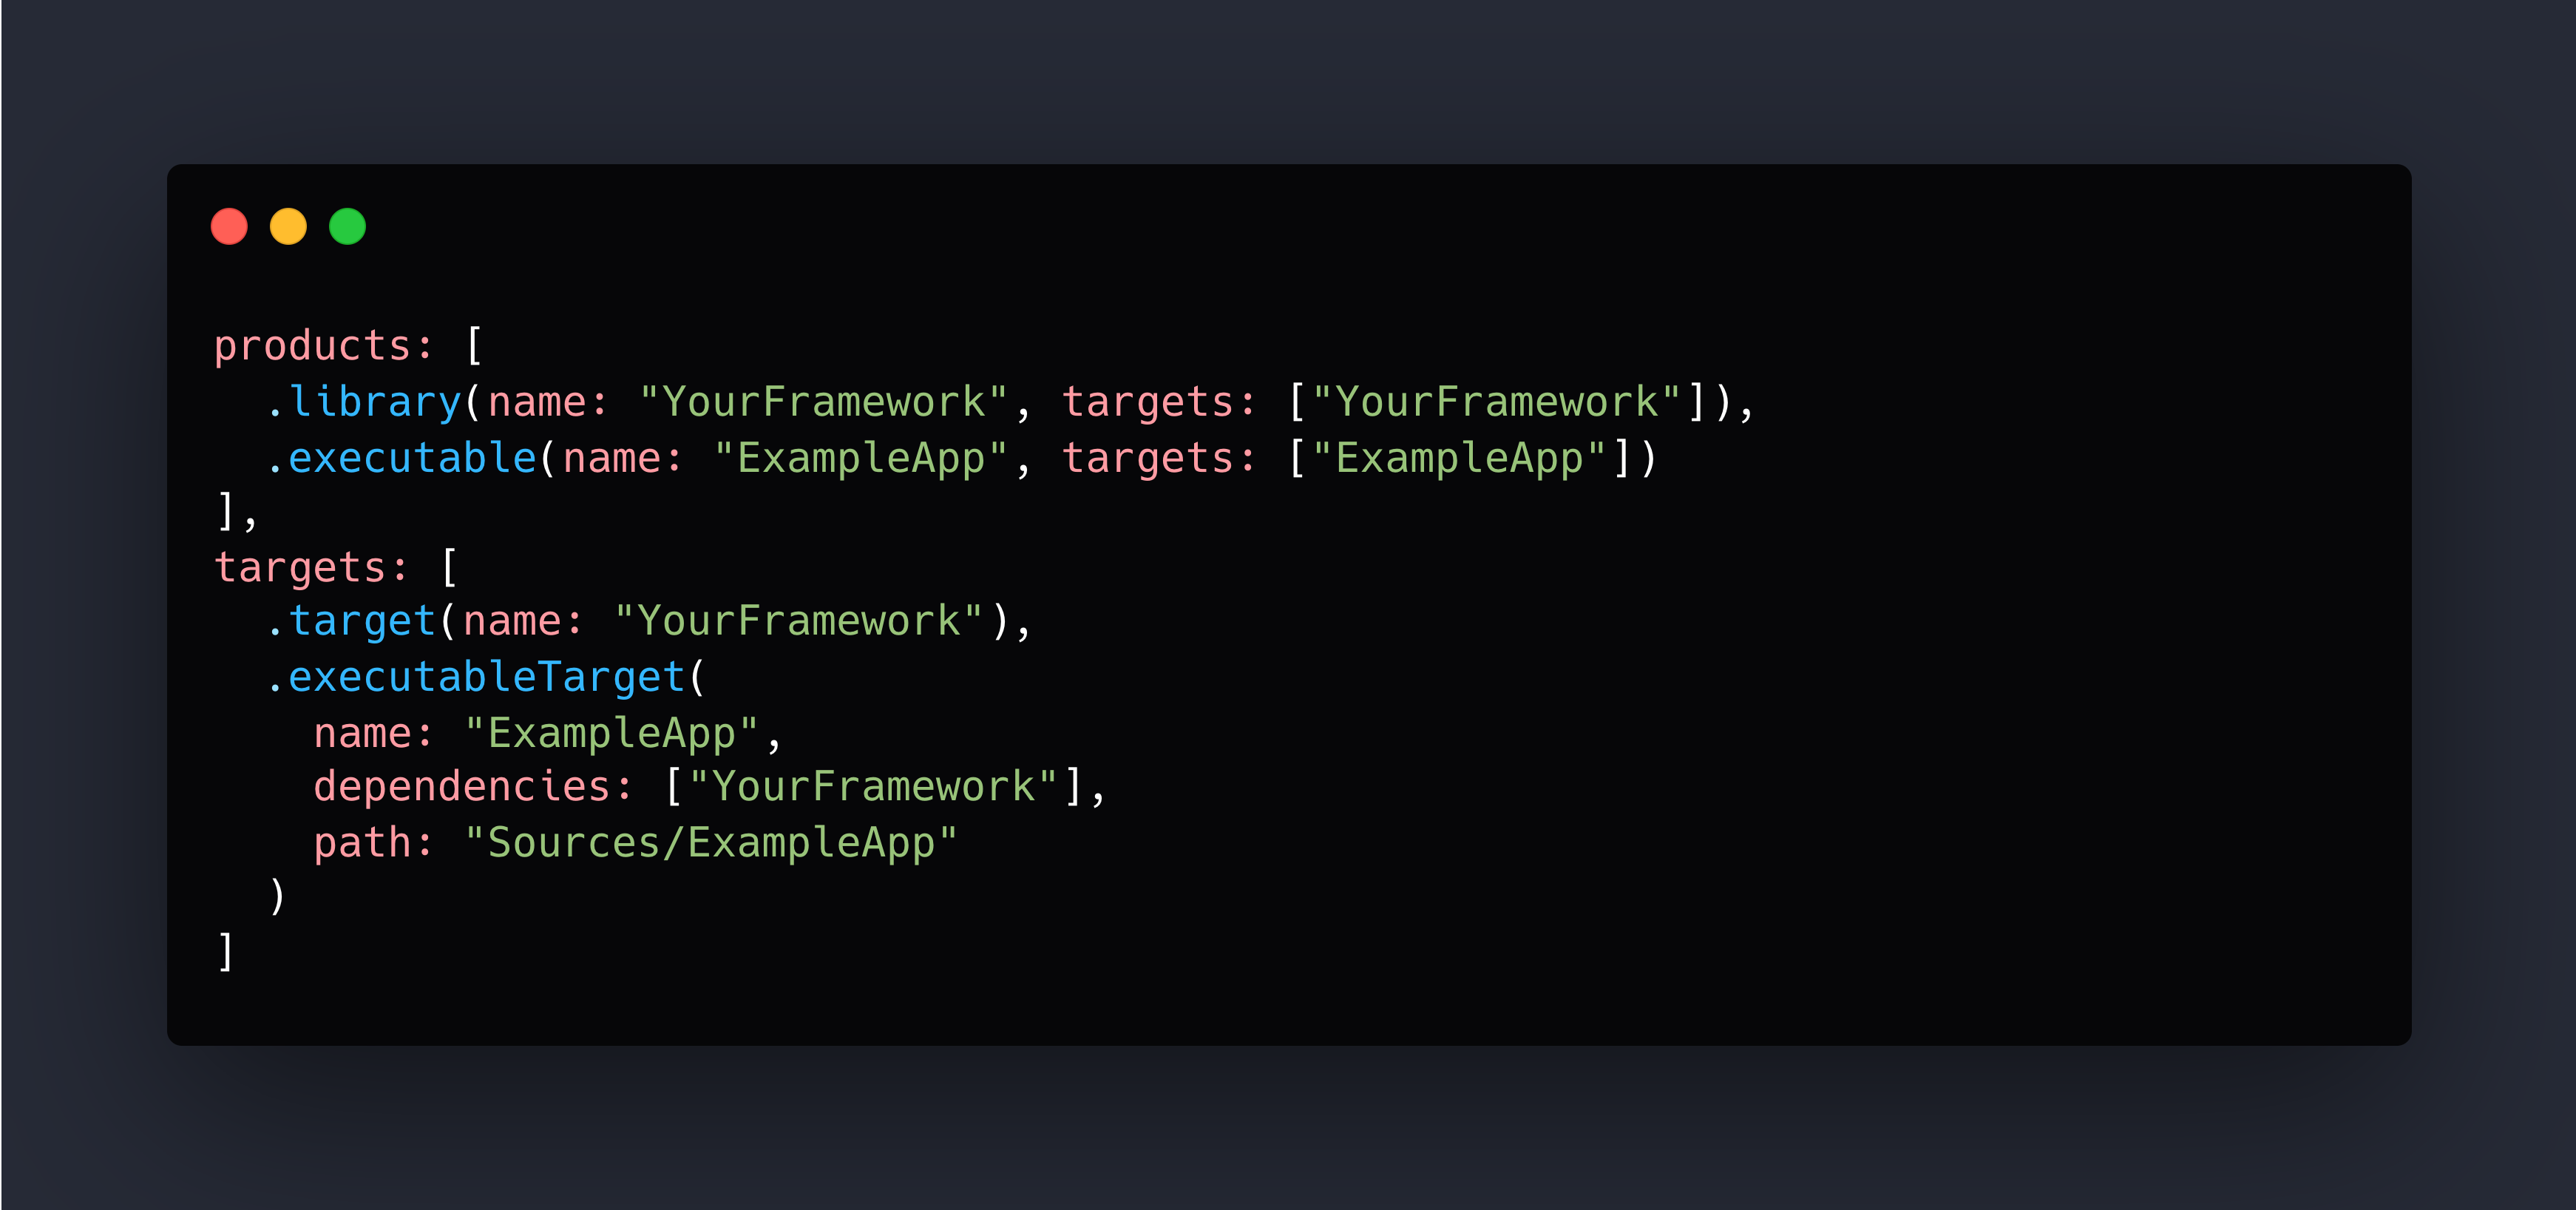
macOS Executable Targets: The Easy Choice
Here’s a practical tip I wish someone had told me earlier: prefer macOS command-line executable targets over iOS example apps.
Why? They’re dramatically faster for CI to run. No simulator. No waiting for Xcode to boot.
When iOS Examples Make Sense
Sometimes you need iOS examples — specifically when your framework:
- Deals with UI components
- Uses iOS-specific APIs (MPMediaLibrary, UIKit views)
- Requires device features (camera, sensors)
In these cases, create an iOS example, but keep it simple:
- Single-target app
- No external dependencies beyond your framework
- Clear navigation to relevant features
- Instructions in README for running it
For a real example, check out MediaBridge’s Example app—it's an iOS app because the framework deals with a library that isn’t supported in macOS.
The Documentation Reference Loop
- Example app demonstrates real usage
- Documentation references the example app
- Users run the example to see it in action
- Users read the code to understand the implementation
- Users check documentation for detailed API info
Each piece reinforces the others. Your example app becomes the practical bridge between “I read the README” and “I integrated this into my project.”
Now that we’ve covered how to help users understand and use your package, let’s talk about maintaining code quality as your project grows.
Auto-Linting: Consistent Code From Day One
Code style debates are exhausting. You know what’s not exhausting? Automated linting that enforces consistent style before code reaches your main branch. No discussions about where braces go. No PR comments about trailing whitespace. Just consistent code, enforced by tools.
I built SwiftFormatLintPlugin specifically to solve this for Swift Package Manager projects. It integrates swift-format directly into your build workflow, catching style issues before they become PR bikeshedding sessions.
Why This Matters
When you make a repository public, you’re inviting contributions from developers with different editors and preferences.
Without automated enforcement, you end up with inconsistent code and two bad options: accept the mess or spend review time discussing formatting instead of logic. Neither is acceptable.
The Setup
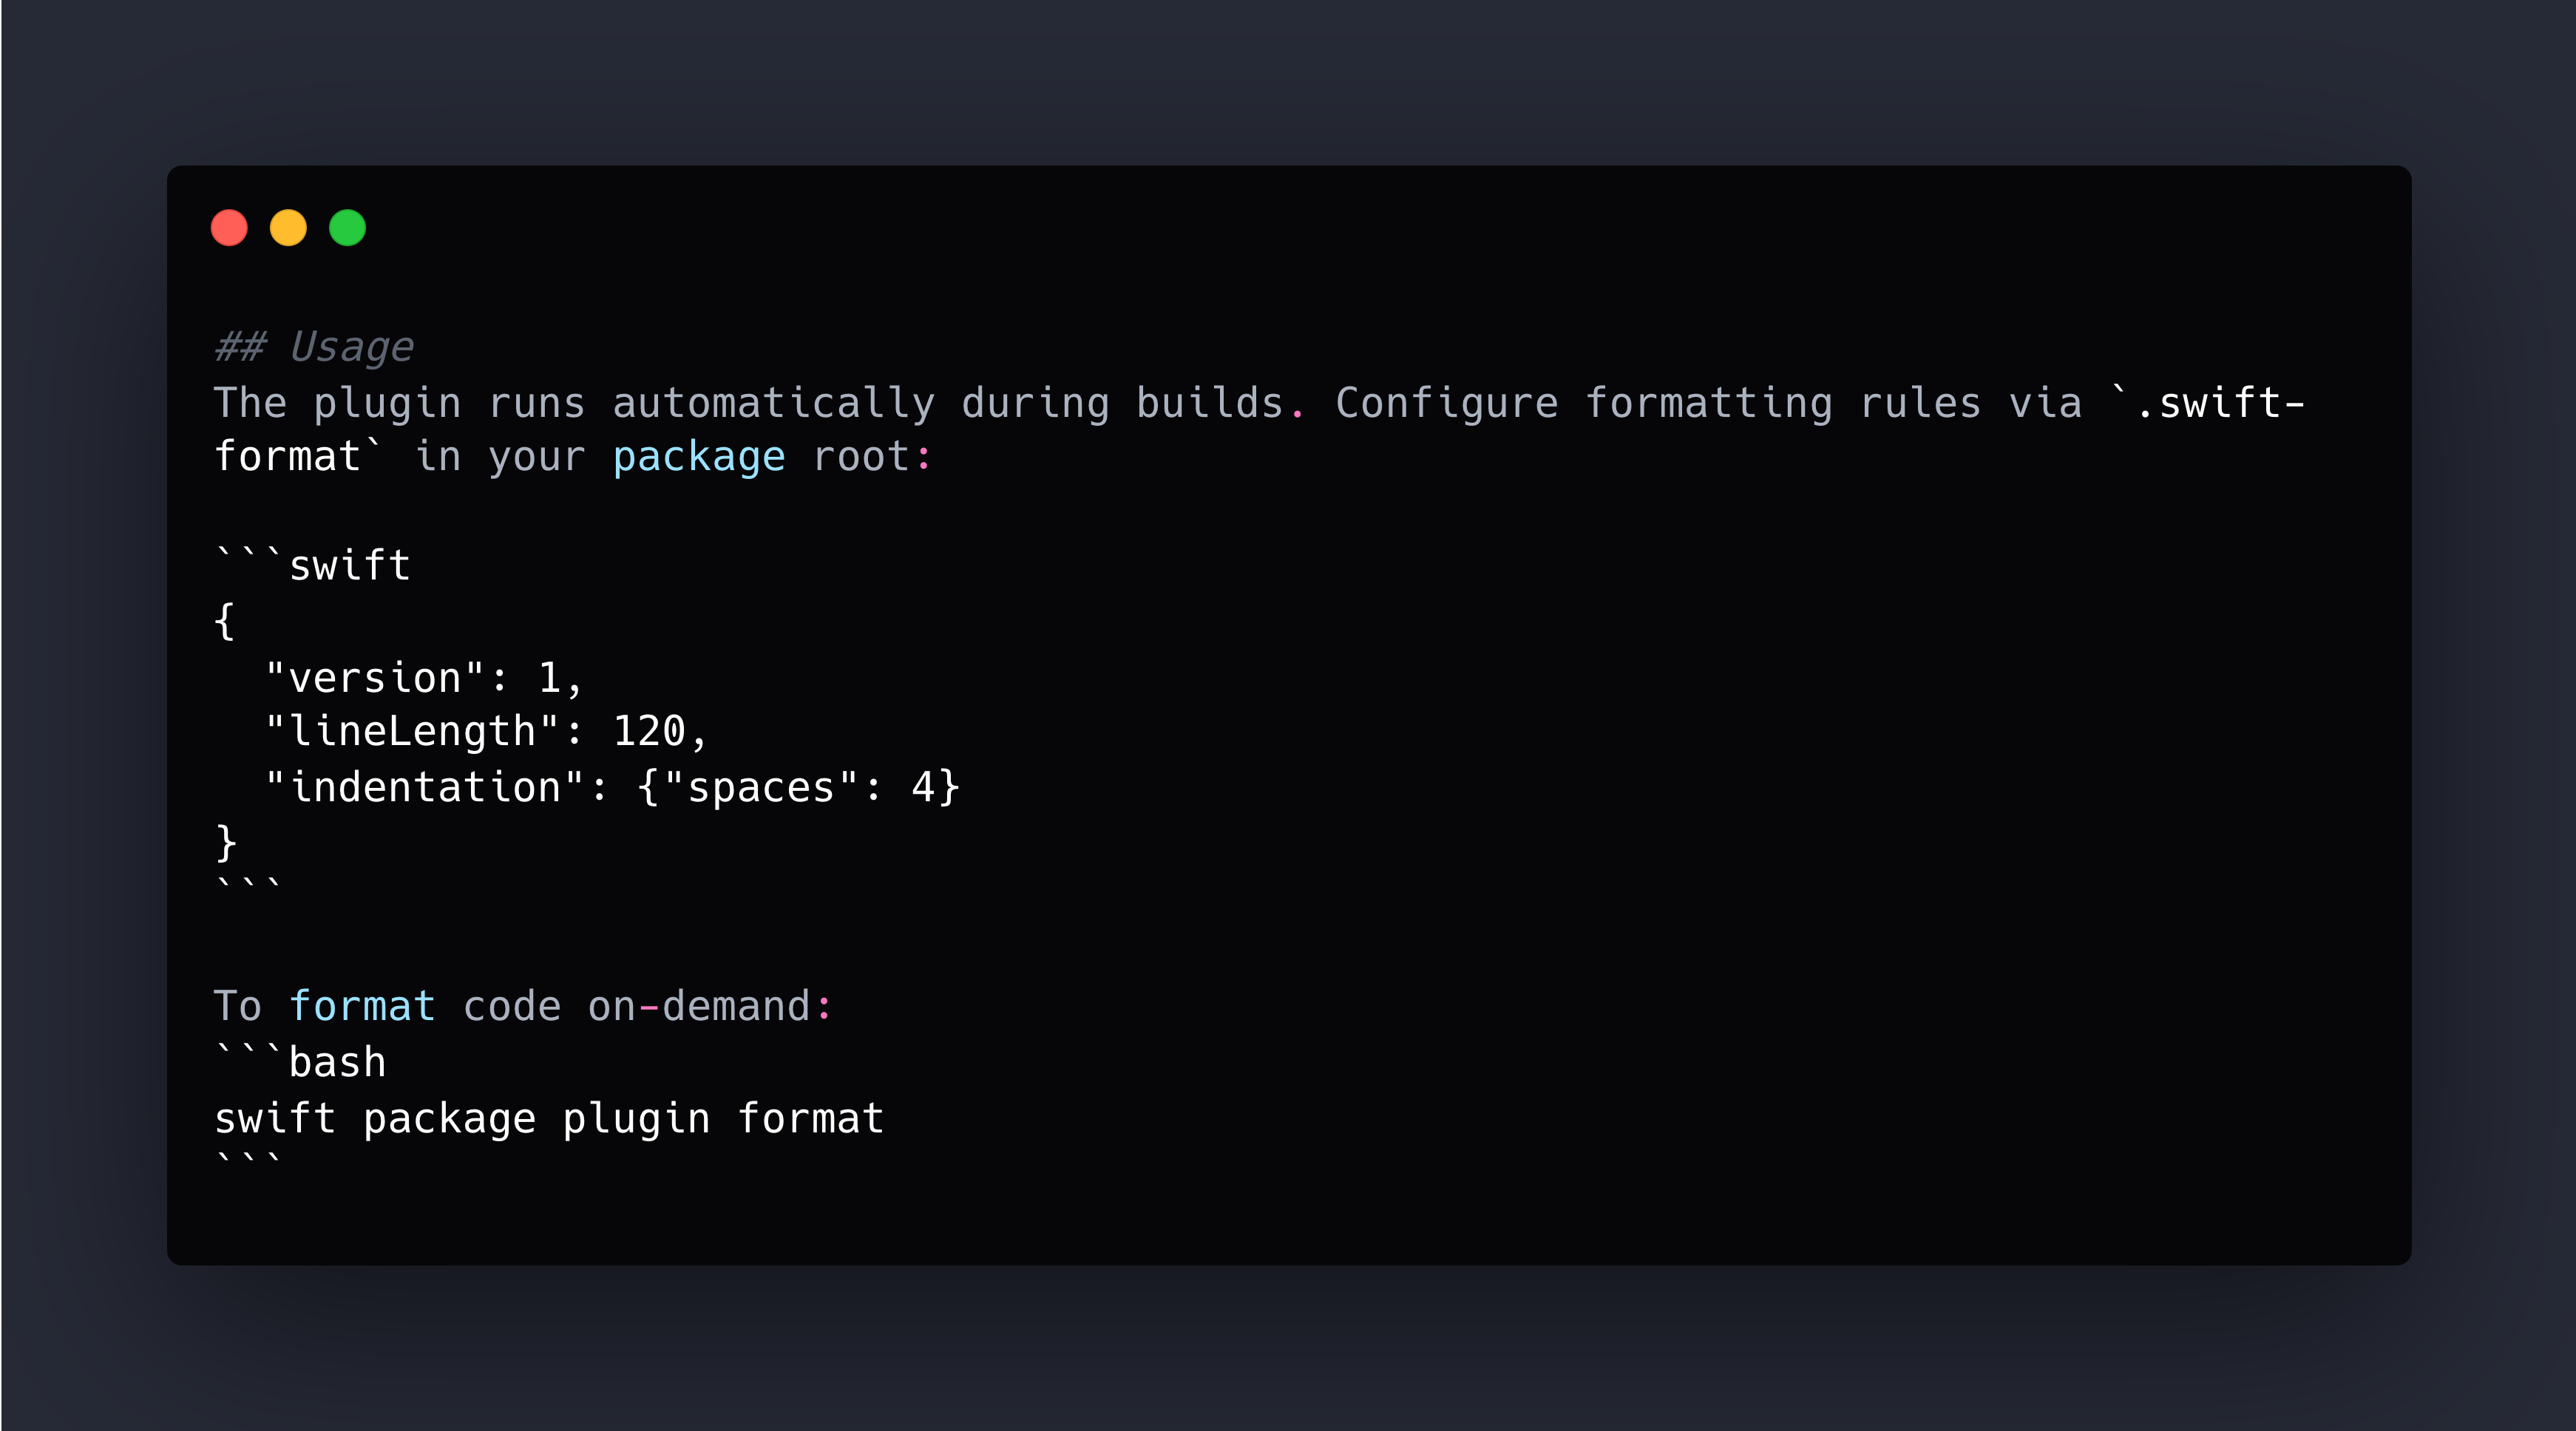
Integration takes two minutes. Add the plugin to your Package.swift targets, create a .swift-format config file with your rules (we use 120-char line length, 4 spaces, respect existing line breaks), and you’re done.
Contributors run swift package plugin format before committing. CI automatically enforces style during builds. If code doesn’t match the rules, the build fails with clear output about what needs fixing.
The result: at no point do contributors guess what style you want or read a CONTRIBUTING document about brace placement. The tools guide them automatically.
SwiftLint is another solid option, especially if you want semantic rules beyond formatting (like complexity metrics or naming conventions). Many projects use both. Choose one, configure it, enforce it in CI. The specific tool matters less than having automated enforcement.
Testing: The Non-Negotiable Axiom
Unit tests are a must-have for public repositories. This isn’t up for debate. It’s an axiom — a fundamental truth of professional software development.
If you’re publishing code for others to depend on, you must have tests that verify it works. Not “nice to have.” Not something you add later when you “have time.” Tests are part of shipping.
Why Tests Are Non-Negotiable
When someone adds your package as a dependency, they’re trusting that your code works. Tests are your proof.
They demonstrate correctness, stability, and confidence. They show contributors they can modify code without fear. They document how the API is intended to be used.
What to Test
Test the public API comprehensively:
- Happy paths — Normal usage with valid inputs
- Error cases — Invalid inputs, boundary conditions
- Edge cases — Empty collections, maximum values, unusual but valid inputs
- Integration — Components working together
You don’t need 100% coverage of private details, but every public method should have tests verifying correct behavior and error handling.
CI Integration
Tests must run in CI on every push and pull request to main at least. Use a matrix to test on multiple platforms (macOS, iOS) and Swift versions. Cross-platform packages should work everywhere, and the matrix catches platform-specific issues.
The Standard
Before you make a repository public, ask yourself: “Can I confidently say this code works?”
Without tests, the honest answer is “probably, based on the limited scenarios I’ve manually tested.” With comprehensive tests, the answer is “yes, and here’s the proof.”
Tests aren’t about hitting some coverage percentage. They’re about professional confidence in the code you’re asking others to depend on.
Test Coverage: Visual Feedback in PRs
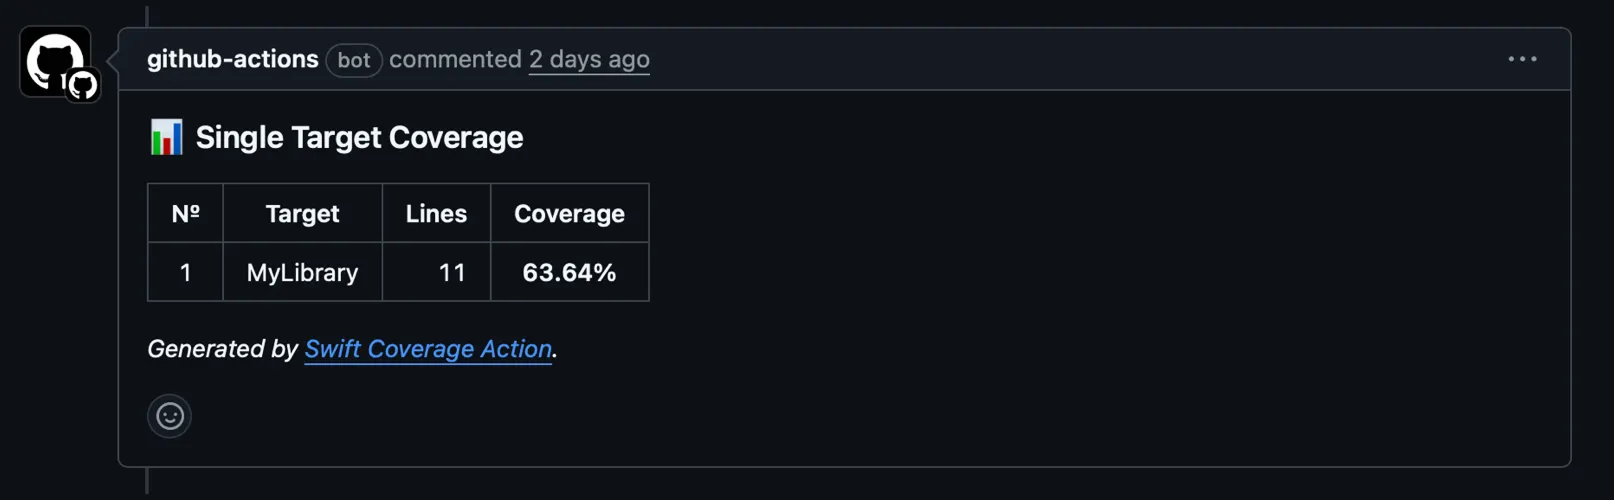
Tests verify your code works. Coverage reports show which code is actually tested. Having test coverage displayed directly in pull requests gives contributors immediate feedback and helps maintain quality standards.
I built swift-coverage-action to solve this for Swift projects. It generates coverage reports and posts them as PR comments, making coverage visible without requiring contributors to run coverage tools locally.
Why It Matters
Coverage reports in PRs provide immediate feedback — contributors see if their changes are tested before requesting review. You see if coverage is improving or declining.
We add swift-coverage-action to our GitHub Actions workflow. This is useful for you and contributors to quickly see the health of the codebase.
Coverage percentage is useful, but it’s not the goal. The goal is confident, well-tested code. Use coverage as a signal, not a target. If it starts dropping, dig in: Are the untested paths critical error handling?
Part 1 Checklist: Foundation and Quality
- [ ] Concise README with title, installation, quick start, docs link
- [ ] MIT LICENSE file
- [ ] DocC comments on all public APIs with working examples
- [ ] DocC articles for comprehensive guides
- [ ] Example app (preferably macOS executable)
- [ ] Automated linting (SwiftFormatLintPlugin or SwiftLint)
- [ ] Comprehensive unit tests
- [ ] Test coverage visible in PRs
Oleksii Kolomiiets
iOS Developer
Oleksii is an iOS alchemist at Snapp Mobile 📱✨, turning concepts into beautifully crafted Swift code and smooth, user-friendly interfaces. He’s passionate about shaping mobile experiences that feel effortless and refined. A firm believer in the power of simplicity, he focuses on writing clear, thoughtful code that brings ideas to life without unnecessary complexity.


January 5, 2026
Ship It Right: A Swift Package Quality Checklist. Part 1 of 3.
Oleksii Kolomiiets
I still remember the moment I decided to open-source my first Swift Package Manager plugin. The code worked perfectly in our internal projects at Snapp, but making it public-ready? That was a different story. I spent the next week adding DocC documentation, setting up GitHub Actions CI, writing example apps, and addressing edge cases I’d been ignoring because “it worked for us”.
This series is for Swift developers turning internal packages into
polished public repositories — covering documentation, quality, and
community setup.
Here’s the thing: most developers know how to write good code. But there’s a massive gap between “code that works” and “a repository that welcomes users and contributors.” That gap includes:
- Documentation that assumes zero context — Your README.md makes sense to you, but will it help someone discovering your project at 2 AM?
- Quality automation — Are you manually checking code style, or does your CI catch issues before they reach main?
- Community infrastructure — When someone wants to contribute, is the path clear or confusing?
- Discoverability — Great code that nobody knows about might as well not exist.
I learned these lessons by studying successful repositories, discussing best practices with experienced coworkers, and developing my own sense of what makes a project polished versus what might fall short.
Let’s start with the most visible part of any repository — the README.
README: Keep It Concise
README is the door, not the whole house.
Follow a simple rule: the README should answer three questions:
- What does this do?
- How do I install it?
- Where can I learn more?
What Belongs in a README
1. Title and One-Line Description — make it crystal clear what this is.
2. Key Badges — status, version, license, supported platforms etc.
3. Installation Instructions/Quick Start — keep it copy-paste ready.
4. Minimal Usage Example — simple examples that show the core value proposition
or code snippet
Consider adding a screen recording — it often demonstrates your framework’s capabilities faster than written explanations.
5. Link to Full Documentation
6. License — quick reference, one line or a badge or both.
What Doesn’t Belong in a README
Everything else. Specifically:
- Detailed API documentation → DocC comments on your public APIs
- Comprehensive guides → DocC articles
- Architecture explanations → DocC articles or separate docs
- Every configuration option → DocC articles
- Change log → Separate CHANGELOG.md file
If you find yourself writing “Advanced Usage” sections or multiple levels of nested headers, you’re overcomplicating your README. Move that content to proper documentation.
Real Examples
Look at my actual repositories to see this philosophy in action:
- MediaBridge — Brief and to the point
- swift-coverage-action — GitHub Action, under 100 lines
- SwiftFormatLintPlugin — SPM plugin, focused on essentials
- SnappDesignTokens — Framework with link to comprehensive DocC docs
License: Just Use MIT
Here’s my license advice: MIT is the way. It’s permissive, simple, and universally understood.
Why MIT? The entire license fits on one screen, it’s safe for commercial use, plays well with other licenses, and creates zero adoption friction. If you had specific patent concerns requiring Apache 2.0, you’d already know it.
How to Add: GitHub offers an “Add a license” dropdown when creating repos. Select MIT. Done. Or create a LICENSE file manually. Choose MIT. Add the file. Move on.
Documentation: DocC and Working Examples
As mentioned in the README chapter, clear documentation hierarchy matters: README for essentials, DocC for everything else. But here’s where I get particularly opinionated: write DocC comments for every public method and abstraction, and make absolutely sure they include working examples.
Let me emphasize that last part: working examples. Not broken code. Actual code that you’ve run and verified works.
Nobody likes copying non-working example code, and nothing destroys trust in documentation faster than examples that fail — just ask anyone who’s hit broken sample code in Apple’s docs.
DocC Comments for Public APIs
Every public method and type needs documentation. Not “nice to have” — needs. When you publish a framework, your public API is your contract with users.
Testing Your Documentation Examples
I learned this lesson the hard way with SnappDesignTokens. Early versions had documentation examples that were close to correct but had small syntax errors or used an outdated API. Users would copy them, get errors, and (rightfully) lose confidence in the entire framework.
My go-to method is using code from actual tests in documentation examples — that way they’re verified and guaranteed to work.
DocC Articles for Detailed Guides
Articles are where comprehensive documentation lives. I organize them by topic:
- Getting Started — Step-by-step guide for first-time users
- Configuration — All available options with explanations
- Advanced Usage — Complex scenarios and edge cases
- Architecture — How the framework is designed (for contributors)
Articles use standard Markdown with DocC extensions. Reference your API directly:
The double backticks create links to your API documentation. When readers click them, they jump to the full API reference.
For a real example of this structure, check out SnappDesignTokens documentation.
Framework Icons (Optional but Nice)
If you want to add polish, create an icon for your framework. I use the Strata — Icon Generator for creating framework icons — it’s designed specifically for generating the right sizes and formats for DocC. Place it in YourFramework.docc/Resources/. It’s a small touch that makes your framework feel more professional.
Key Principles
- Working examples are non-negotiable — Test them before publishing
- Document the “why” not just the “what” — Explain when and why to use each API
- Keep documentation close to code — DocC comments live with the code they document
- Separate concerns — README for quick start, comments for API reference, articles for deep dives
- Verify everything — Broken docs are worse than no docs
Great documentation turns a good framework into one that developers actually want to use.
Example Apps: Show, Don’t Just Tell
Documentation tells developers how your framework works. Example apps show them. There’s a massive difference between reading about an API and seeing it in action, and every public repository should include working examples as part of the package structure.
We learned this building SnappThemingSVGSupport. Developers could run the example, see the output, then reference the code to understand the implementation.
Project Structure
Include example apps as part of your Swift Package Manager structure. It could be a Source folder or root for better visibility — up to you.
The example lives alongside your framework code, not in a separate repository. This keeps everything in sync and makes it trivial for developers to find.
macOS Executable Targets: The Easy Choice
Here’s a practical tip I wish someone had told me earlier: prefer macOS command-line executable targets over iOS example apps.
Why? They’re dramatically faster for CI to run. No simulator. No waiting for Xcode to boot.
When iOS Examples Make Sense
Sometimes you need iOS examples — specifically when your framework:
- Deals with UI components
- Uses iOS-specific APIs (MPMediaLibrary, UIKit views)
- Requires device features (camera, sensors)
In these cases, create an iOS example, but keep it simple:
- Single-target app
- No external dependencies beyond your framework
- Clear navigation to relevant features
- Instructions in README for running it
For a real example, check out MediaBridge’s Example app—it's an iOS app because the framework deals with a library that isn’t supported in macOS.
The Documentation Reference Loop
- Example app demonstrates real usage
- Documentation references the example app
- Users run the example to see it in action
- Users read the code to understand the implementation
- Users check documentation for detailed API info
Each piece reinforces the others. Your example app becomes the practical bridge between “I read the README” and “I integrated this into my project.”
Now that we’ve covered how to help users understand and use your package, let’s talk about maintaining code quality as your project grows.
Auto-Linting: Consistent Code From Day One
Code style debates are exhausting. You know what’s not exhausting? Automated linting that enforces consistent style before code reaches your main branch. No discussions about where braces go. No PR comments about trailing whitespace. Just consistent code, enforced by tools.
I built SwiftFormatLintPlugin specifically to solve this for Swift Package Manager projects. It integrates swift-format directly into your build workflow, catching style issues before they become PR bikeshedding sessions.
Why This Matters
When you make a repository public, you’re inviting contributions from developers with different editors and preferences.
Without automated enforcement, you end up with inconsistent code and two bad options: accept the mess or spend review time discussing formatting instead of logic. Neither is acceptable.
The Setup
Integration takes two minutes. Add the plugin to your Package.swift targets, create a .swift-format config file with your rules (we use 120-char line length, 4 spaces, respect existing line breaks), and you’re done.
Contributors run swift package plugin format before committing. CI automatically enforces style during builds. If code doesn’t match the rules, the build fails with clear output about what needs fixing.
The result: at no point do contributors guess what style you want or read a CONTRIBUTING document about brace placement. The tools guide them automatically.
SwiftLint is another solid option, especially if you want semantic rules beyond formatting (like complexity metrics or naming conventions). Many projects use both. Choose one, configure it, enforce it in CI. The specific tool matters less than having automated enforcement.
Testing: The Non-Negotiable Axiom
Unit tests are a must-have for public repositories. This isn’t up for debate. It’s an axiom — a fundamental truth of professional software development.
If you’re publishing code for others to depend on, you must have tests that verify it works. Not “nice to have.” Not something you add later when you “have time.” Tests are part of shipping.
Why Tests Are Non-Negotiable
When someone adds your package as a dependency, they’re trusting that your code works. Tests are your proof.
They demonstrate correctness, stability, and confidence. They show contributors they can modify code without fear. They document how the API is intended to be used.
What to Test
Test the public API comprehensively:
- Happy paths — Normal usage with valid inputs
- Error cases — Invalid inputs, boundary conditions
- Edge cases — Empty collections, maximum values, unusual but valid inputs
- Integration — Components working together
You don’t need 100% coverage of private details, but every public method should have tests verifying correct behavior and error handling.
CI Integration
Tests must run in CI on every push and pull request to main at least. Use a matrix to test on multiple platforms (macOS, iOS) and Swift versions. Cross-platform packages should work everywhere, and the matrix catches platform-specific issues.
The Standard
Before you make a repository public, ask yourself: “Can I confidently say this code works?”
Without tests, the honest answer is “probably, based on the limited scenarios I’ve manually tested.” With comprehensive tests, the answer is “yes, and here’s the proof.”
Tests aren’t about hitting some coverage percentage. They’re about professional confidence in the code you’re asking others to depend on.
Test Coverage: Visual Feedback in PRs
Tests verify your code works. Coverage reports show which code is actually tested. Having test coverage displayed directly in pull requests gives contributors immediate feedback and helps maintain quality standards.
I built swift-coverage-action to solve this for Swift projects. It generates coverage reports and posts them as PR comments, making coverage visible without requiring contributors to run coverage tools locally.
Why It Matters
Coverage reports in PRs provide immediate feedback — contributors see if their changes are tested before requesting review. You see if coverage is improving or declining.
We add swift-coverage-action to our GitHub Actions workflow. This is useful for you and contributors to quickly see the health of the codebase.
Coverage percentage is useful, but it’s not the goal. The goal is confident, well-tested code. Use coverage as a signal, not a target. If it starts dropping, dig in: Are the untested paths critical error handling?
Part 1 Checklist: Foundation and Quality
- [ ] Concise README with title, installation, quick start, docs link
- [ ] MIT LICENSE file
- [ ] DocC comments on all public APIs with working examples
- [ ] DocC articles for comprehensive guides
- [ ] Example app (preferably macOS executable)
- [ ] Automated linting (SwiftFormatLintPlugin or SwiftLint)
- [ ] Comprehensive unit tests
- [ ] Test coverage visible in PRs
Oleksii Kolomiiets
iOS Developer
Oleksii is an iOS alchemist at Snapp Mobile 📱✨, turning concepts into beautifully crafted Swift code and smooth, user-friendly interfaces. He’s passionate about shaping mobile experiences that feel effortless and refined. A firm believer in the power of simplicity, he focuses on writing clear, thoughtful code that brings ideas to life without unnecessary complexity.